Before you start creating and sharing content on your blog, you'll need to configure your settings. You can customize your blog's root URL, date format, comments options, subscription email settings and more.
- In your HubSpot account, click the settings icon settings in the main navigation bar.
- In the left sidebar menu, navigate to Website > Blog.
- Use the Select a blog to modify dropdown menu to choose the blog you want to customize, or click Create new blog.
-
You'll see the following tabs for each of your blog settings:

General
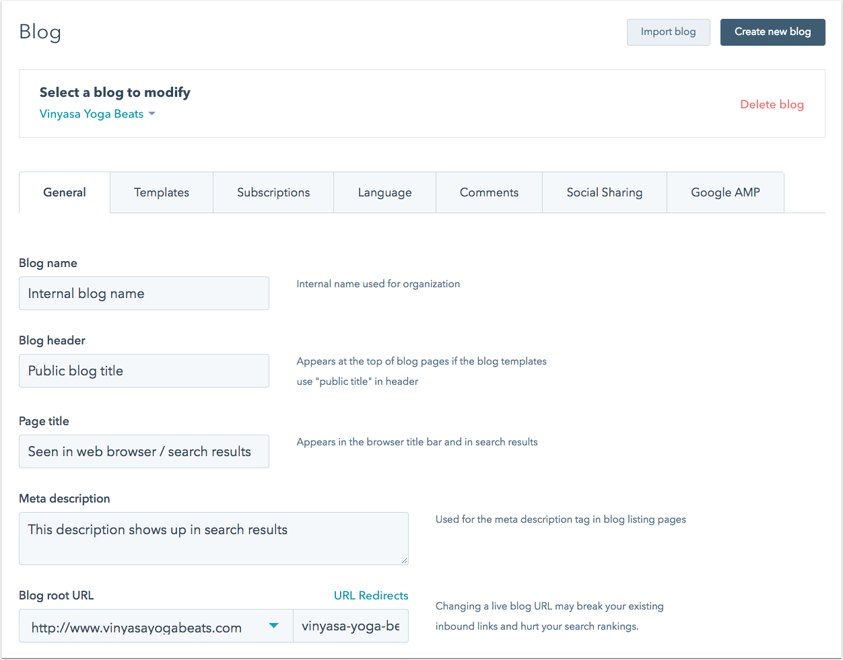
You can create a new blog, delete a blog, or manage your basic settings for your blog. You'll fill in these settings before you start blogging and sharing your content.
Complete the following fields:
- Blog name: the name of your blog. This is an internal name only, for your reference, in the event you have more than one blog in HubSpot.
- Blog header: the blog header appears in your blog templates if they use the public title tag.
- Page title: the title appears in the browser tab and in search engine results. It is recommended to keep the title below 70 characters.
- Meta description: the summary that likely appears in search engine results for your blog. Google, for example, may not use the meta description.
- Blog root URL: click the Blog root URL dropdown menu to select a domain for your blog to be hosted on (Marketing Hub Enterprise only). To add a subdirectory (e.g. /blog or /news), enter the subdirectory you want in the text field. This URL will be the URL of your blog listing page and the root URL of your blog posts.
Please note: if you change the Blog root URL, redirects will automatically be set up to forward any existing published blog content to their corresponding new URL. If there is no existing published blog content, redirects will not be created automatically.
In your blog's Templates settings, choose the template applied to your blog and blog listing page. You can also customize how your blog posts render on the listing page and add any customization to the HTML and CSS here.
- Use the Current template dropdown menu to choose the template applied to your blog posts and blog listing page.
- To use a different template for your blog listing page, click the Use custom template for blog listing page hyperlink. The text should now display Use same template for blog listing page.

- Check the Show summaries on listing page checkbox if you'd like your blog listing page to feature the content of your blog post up to the read more separator.
- Check the Use featured images in listing summaries to include the featured image of each blog post on your blog listing page.
- You can also customize the header or footer HTML of your blog or apply stylesheets here.
Learn more about how to customize your template settings.
Subscriptions
Your blog Subscriptions settings is where you can enable and edit your blog notification emails.
- Switch the Enable blog subscriber notification emails toggle on to enable blog email notifications.
- Use the toggle switch for each blog notification Frequency to enable or disable each email type. Keep in mind that your blog subscription form should reflect the same frequency options you enable in your blog subscriptions settings.

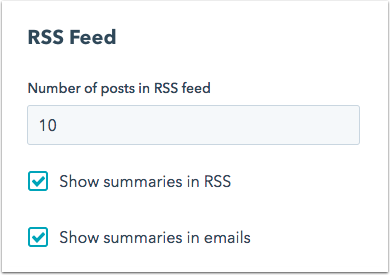
In the RSS Feed section of your settings, you can customize the way your blog posts appear in your RSS feed and in the post feed in your blog notification emails.
- Enter the number of blog posts features in each blog notification email.
- Use the checkboxes to indicate whether to feature summaries of your blog posts in the RSS feed or in your blog notification emails.
Learn more about how to manage your blog subscription form, emails, and settings.
Language
Your blog's Language settings determine how the dates are formatted in your blog posts and blog listing page.
- Click the Language tab.
-
Use the Language for dates dropdown menu or the search bar to choose the language for your blog date format.

- Use the Publish date format dropdown menu to choose the format for your blog post publishing dates. These formats will correspond to the Language for dates selected above.
- Use the Posts by month format dropdown menu to choose the date format for your blog listing page.

Please note: the date formats available for selection correspond to the language for dates you've selected.
If you're comfortable working with code, you can also choose to use a custom date format that you create using Locale Data Markup Language. You can find more information on using LDML by clicking What's this? on the settings page.
Comments
In your blog Comments settings, you can manage blog comment notifications, moderator settings, and more.
- Switch the Enable commenting toggle on to allow visitors to leave comments on your blog.
- Check the Allow comments to create contacts checkbox if you want new visitors who leave a new blog comment to be added to your contact database.
- Check the Moderate comments checkbox if you want blog comments to be approved by your team before they're published.
- Use the Who should receive notifications of new comments on this blog dropdown menu to choose which users on your team should receive notifications to review your blog comments.
- Customize how many levels of comments can be threaded using the Threaded comments (level) dropdown menu. The more levels added here, the more levels of reply comments visitors can leave on existing comments.
Learn more about how to configure your blog comment settings.
Social Sharing
Enable social sharing icons so readers can quickly and easily share your content with their followers with one click. You can include a share icon for Twitter, LinkedIn, Facebook, and Google+. The counter for each social media sharing icon shows the number of times your blog post URL was shared on that network.
- Click the Social Sharing tab.
- If you'll be including a Twitter social sharing icon, use the Default Twitter account dropdown menu to choose the Twitter handle featured in blog posts shared via Twitter Cards. Learn more about how to connect a Twitter account to HubSpot.
- Check the social media channel checkbox for any social sharing icons you want to include on your blog.
